OpenSees AMI Usage Instructions
The OpenSees AMI (Amazon Machine Image) is pre-configured with everything you need (Python, OpenSeesPy, Tcl, OpenSeesMP, and MPI) to run OpenSees on an EC2 instance, or virtual server.
You can also use a Jupyter Notebook to run analyses and interact with your OpenSees AMI instance.
Available Instance Types
Every EC2 instance has a unique combination of virtual CPUs (vCPUs) and gigabytes (GiB) of memory (RAM). OpenSees AMIs are available for the T3, M5, and C5 instance series with the following compute resources.
T3 Instance Series
The T3 series offers low-cost, base level resources for the sequential and parallel analysis of small to moderate OpenSees models. The series ranges from t3.nano with 2 vCPUs and 0.5 GiB RAM to t3.2xlarge with 8 vCPUs and 32 GiB RAM.
M5 Instance Series
The M5 series offers balanced computing resources for the sequential and parallel analysis of large OpenSees models. The series ranges from m5.large with 2 vCPUs and 8 GiB RAM to m5.metal with 96 vCPUs and 384 GiB RAM.
C5 Instance Series
The C5 series offers compute optimized resources for parametric or “embarrassingly parallel” analysis of small to moderate OpenSees models. Compared to the M5 series, C5 instances offer a higher vCPU-to-RAM ratio. The C5 series ranges from c5.large with 2 vCPUs and 4 GiB RAM to c5.metal with 96 vCPUs and 192 GiB RAM.
AWS Region Availability
The OpenSees AMI is available in all AWS regions, including GovCloud, but is not available in the eu-south-1 (Milan) region. Due to a licensing issue, the OpenSees AMI is also not available to users located in Italy, regardless of AWS region. We are working to resolve the licensing issue.
OpenSees AMI Pricing
EC2 instances that use the OpenSees AMI cost approximately 20% more than the instance's base hourly rate, or EC2 infrastructure cost. For example, an EC2 instance with base rate $0.080/hour will cost an additional $0.016/hour when launched with the OpenSees AMI, making the total rate $0.096/hour.
Fixed annual rates for launching an EC2 instance with the OpenSees AMI are available for savings of up to 54% compared to equivalent hourly OpenSees AMI rates. For example, the OpenSees AMI annual rate for an EC2 instance with base rate $0.080/hour will be approximately $64/year ($0.016/hour * 24 hours/day * 365 days = $140.16, discounted by 54% to reach $64/year). Note that for annual rates, AWS continues to charge its base EC2 infrastructure costs. Therefore, the cost of this OpenSees AMI at the annual rate will be $64/year plus the annual EC2 infrastructure cost.
Although base EC2 instance rates vary among AWS regions, the additional OpenSees AMI hourly and annual rates are uniform across all regions.
You will see the final hourly or annual rate before you launch your OpenSees AMI instance.
Still have questions about OpenSees AMI pricing or would like to inquire about a private offer for bulk instances or other large use cases? Contact us.
Steps to Launch an OpenSees AMI Instance
Launch an EC2 instance with the OpenSees AMI by following these steps.
1. Sign In to AWS Account
If you do not already have an account on AWS, sign up for a free basic account. Note that registration requires a credit card, even for free tier usage.
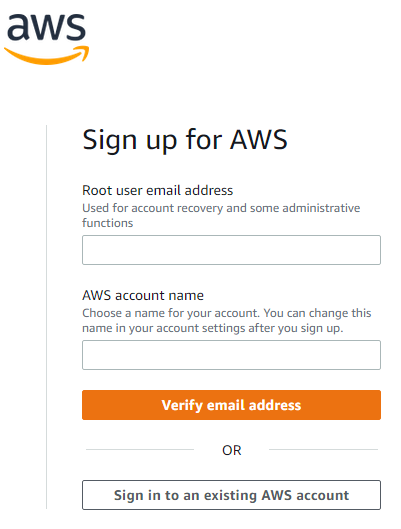
If you already have an AWS account, sign in.
2. Open the EC2 Dashboard
Go to the EC2 Dashboard, which shows all computing resources associated with your account in the selected region.
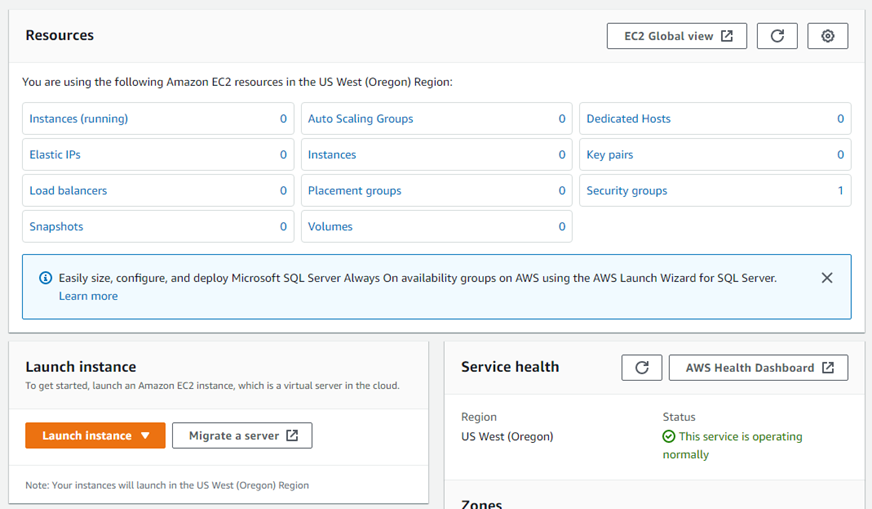
To mitigate network latency when using the OpenSees AMI, make sure your EC2 dashboard shows the geographically closest region.nnYou can view and change your EC2 region by selecting the region name, which is next to your username, in the upper right corner of the browser window.
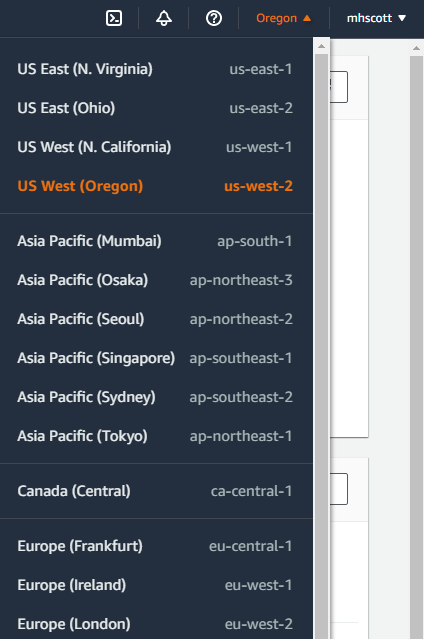
Note that the OpenSees AMI is not available in the eu-south-1 (Milan) region.
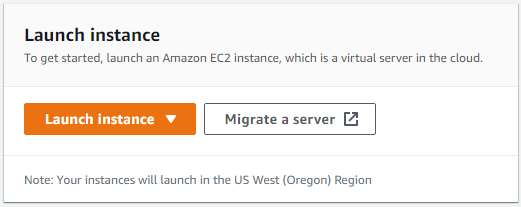
3. Create an Instance
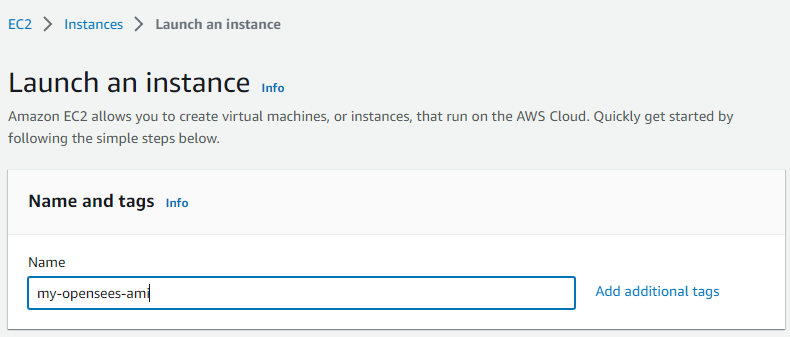
From the EC2 Dashboard, click the Launch Instance button.
On the next page, name your instance, e.g., my-opensees-ami, or whatever you like.
On the Launch Instance page, type opensees into the AMI search bar.
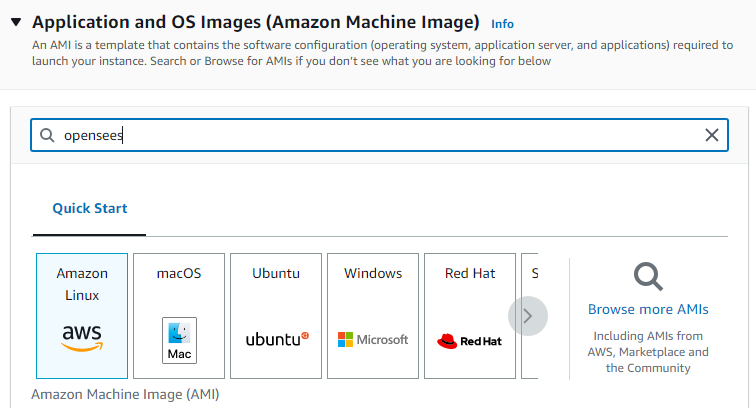
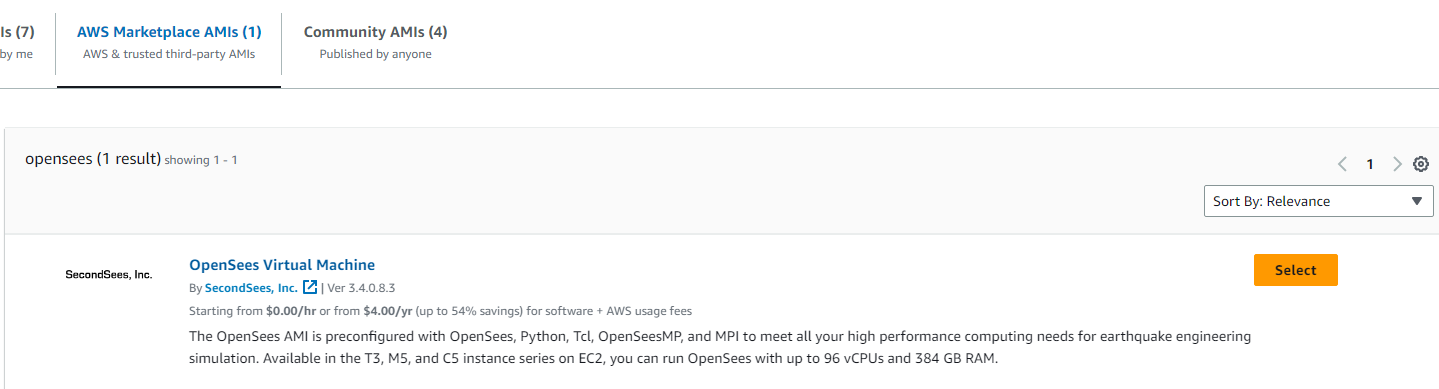
From the search results, select OpenSees Virtual Machine, provided by SecondSees, Inc.
The OpenSees AMI is updated periodically, so the version number will be greater than what's shown in the screenshot below.
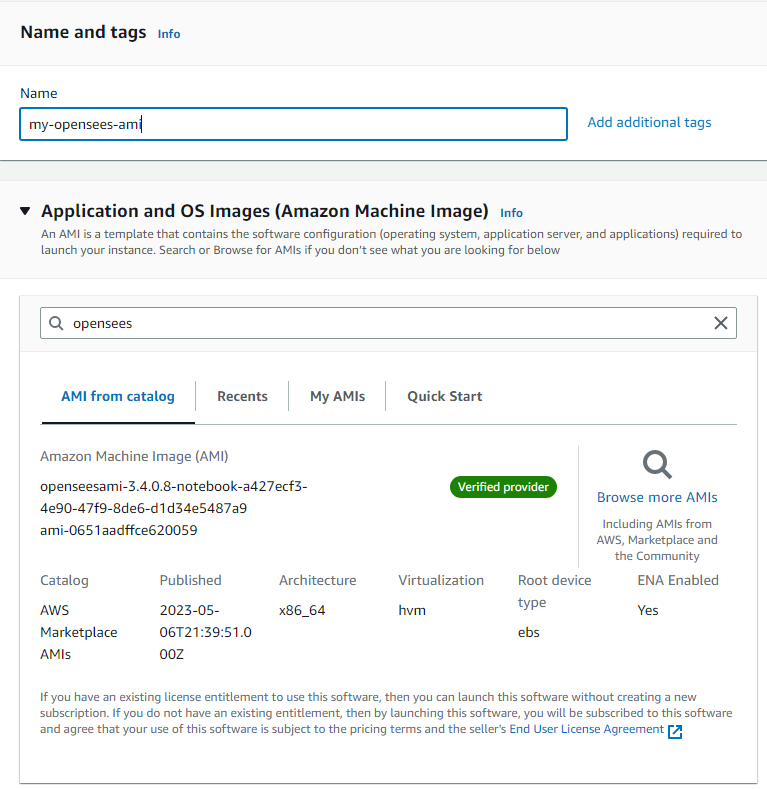
After selecting the OpenSees Virtual Machine, you will see a pop-up window with product details, pricing, region, and usage information.

The default instance and total hourly price are shown, but you can change the instance type later. Click Continue.
You will be taken back to the Launch Instance page where you should see the OpenSees AMI.
4. Configure the Instance
From the Launch Instance page, choose your instance type and key-pair credentials.
Select an instance from the t3, m5, or c5 series. Other instance series may be available from the pull down menu, but you will receive a launch error in subsequent steps if you select an instance outside those configured for the OpenSees AMI.
Also select a key pair for secure connection to your OpenSees AMI instance.

A key pair is unique to your AWS account.
If you have previously created a key pair and wish to use it, select that key pair.
Otherwise select "Create a new key pair", enter a name (suggestion: awskey) and click "Create".
Save the private key file, e.g. awskey.pem, which is downloaded by your browser. Keep the file in a safe location.
See the AWS user guide for information on how to create key pairs for your account.
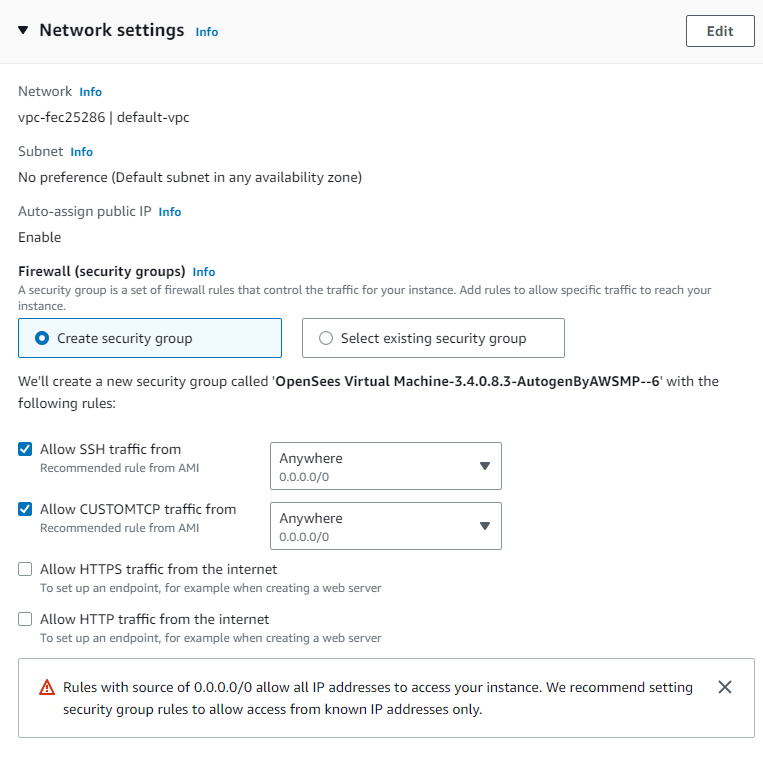
Next, configure the network settings for your OpenSees AMI instance.
The default settings are generally OK. However, you can change the port number (default 7777) for accessing your OpenSees AMI instance via a Jupyter Notebook. To do so, click the Edit button on Network Settings.
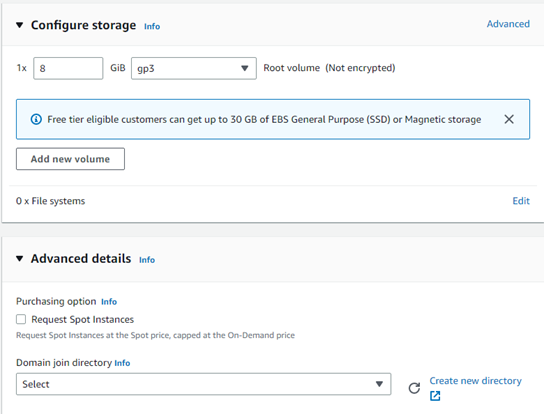
Finally, configure storage details for your OpenSees AMI instance.
The default storage is 8 GB, but you can increase storage if your OpenSees analyses will generate large amounts of data.
Note this is the permanent hard drive storage associated with your OpenSees AMI instance.
The default settings for advanced details are generally OK.
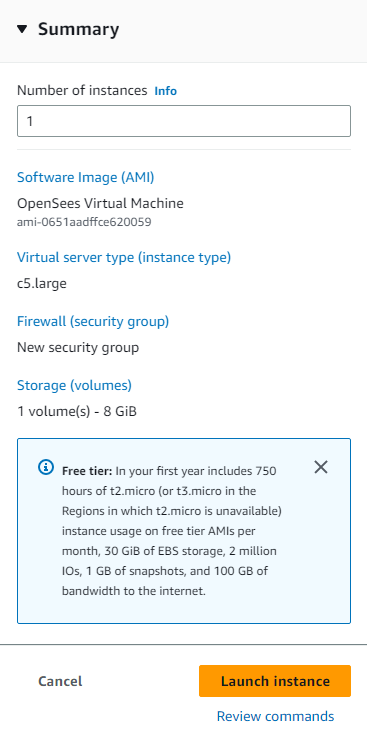
5. Review and Launch Instance
Review the instance information. Check the AMI name is OpenSees Virtual Machine, the instance type, security, and storage information.
When all looks good, click Launch Instance.
You should now see “Success” for a successful launch of your OpenSees AMI instance.
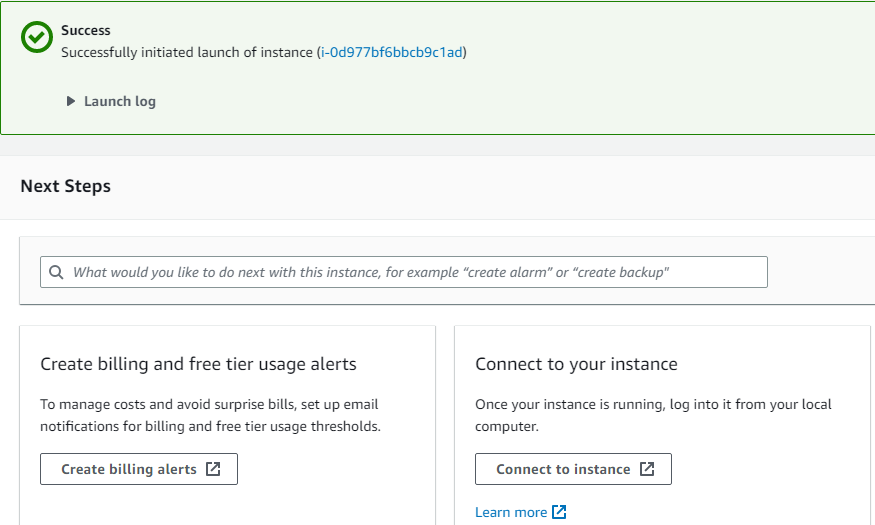
Congratulations! You are now ready to run OpenSees in the cloud.
Connect to Your OpenSees AMI Instance
With a successful creation and launch, you can now connect to your OpenSees AMI instance and start running analyses. Regardless of how you connect, you will first need to obtain the public IP address for your OpenSees AMI instance.
0. Obtain the Public IP Address
Return to the EC2 Dashboard, where you should see your newly created OpenSees AMI instance. If you do not see your new instance, you may have to change regions.
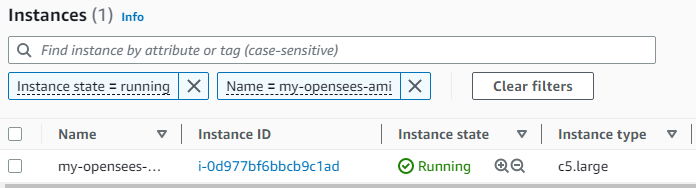
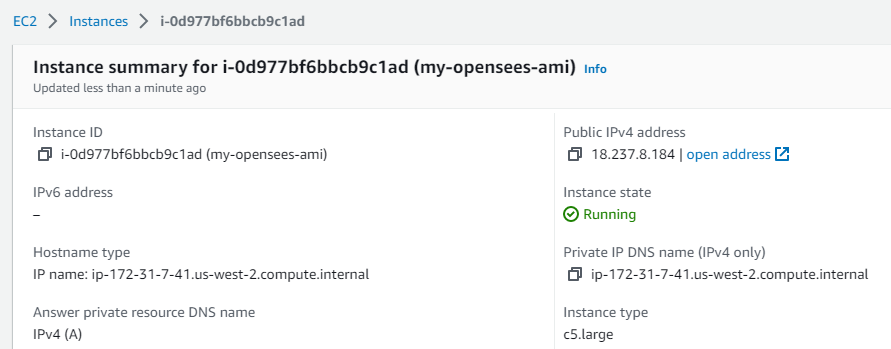
Copy the Public IPv4 address, e.g., 18.237.8.184, but yours will be different. You can now use this address to connect to your OpenSees AMI instance through either a Jupyter Notebook in a web browser or through a secure shell (ssh) terminal.
1. Jupyter Notebook
In OpenSees AMI versions 3.4.0.8.3 and later, you can access your instance via a Jupyter Notebook. Open a web browser on your local machine, then in the URL address bar open port 7777 at the public IPv4 address of your instance, e.g., 18.237.8.184:7777. You should see a login screen.
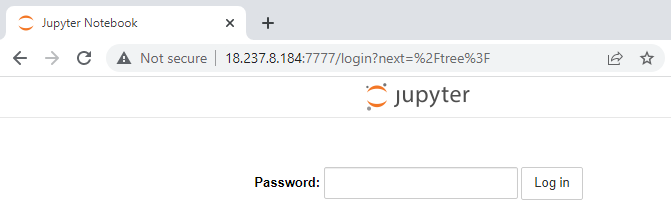
Initially, no password is set, so click Log in without entering a password. You will then be taken to the root directory of your OpenSees AMI instance.
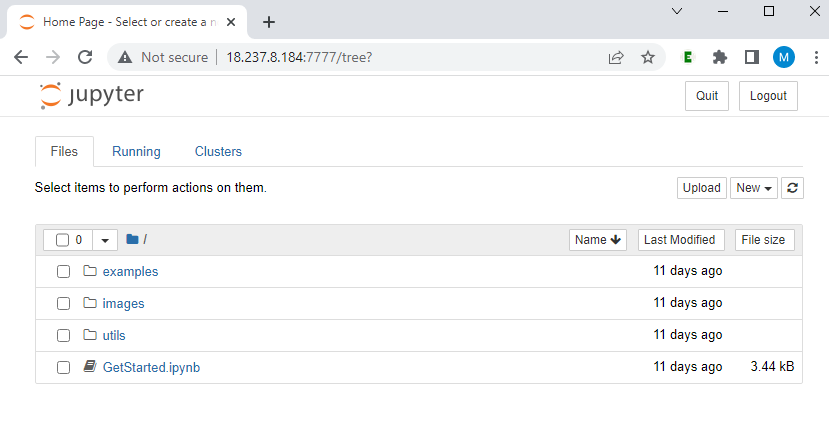
Here you will see an examples directory and a GetStarted.ipynb notebook.
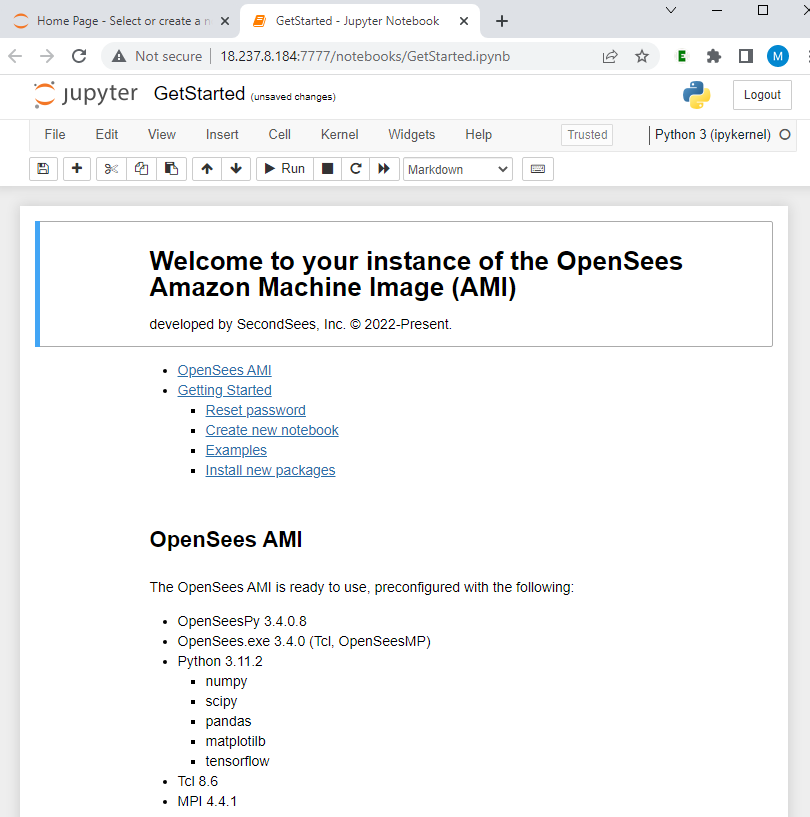
In the “Getting Started” notebook, you will find instructions on how to set a login password, create a new notebook, run examples, and install new packages.
Congratulations! You can now run OpenSees through a Jupyter Notebook in the cloud.
Note that you can upload and download files to and from your OpenSees AMI instance through the Jupyter Notebook interface.
2. Secure Shell (ssh) Terminal
Connect to your OpenSees AMI instance like you would any remote server. The OpenSeesAMI uses Amazon Linux on which all basic linux commands will work.
2.1 Connect with Key Pair
Use ssh with your login key pair to connect to your OpenSees AMI instance. The login credential is ec2-user@publicIPv4address, e.g., ec2-user@52.10.40.127 or ec2-user@18.237.8.184, but your IPv4 address will be different.
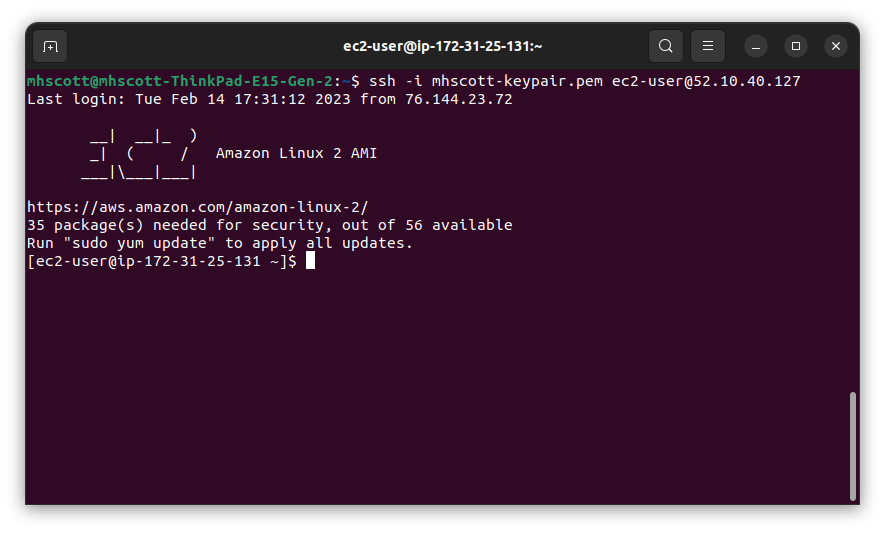
Note that the Private IP DNS name shows at the command prompt after login. For example, ip-172-31-25-131, but yours will be different.
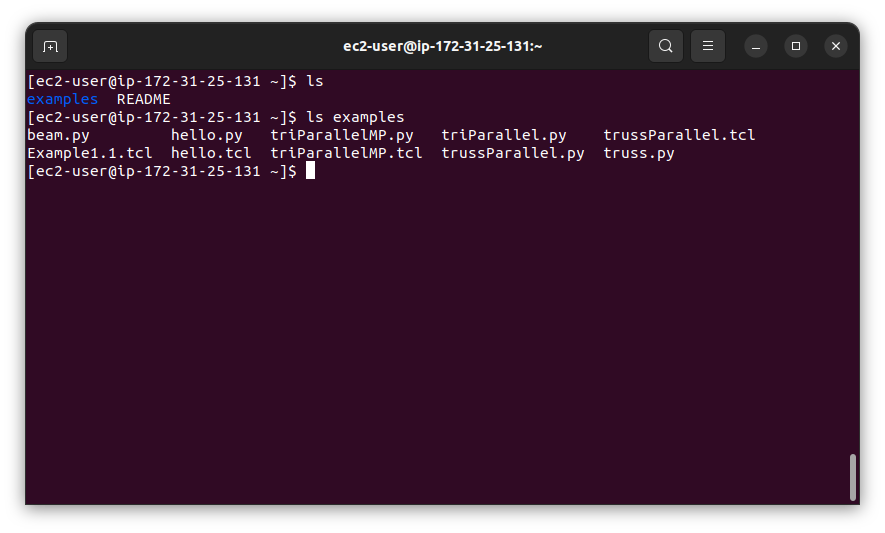
Type ls or dir to see the contents of your OpenSees AMI instance. Each instance is pre-loaded with a README file and an examples/ directory.
2.2 Run a Test Script
First, make sure Python and MPI are correctly configured on your OpenSees AMI instance.
Change into the examples/ directory using the command cd examples, then run the hello.py script using mpiexec, e.g., with two processors.
NOTE: Use python3.11 instead of python3 with AMI version 3.4.0.8.3.
[ec2-user@ip-172-31-25-131 examples]$ mpiexec -np 2 python3 hello.py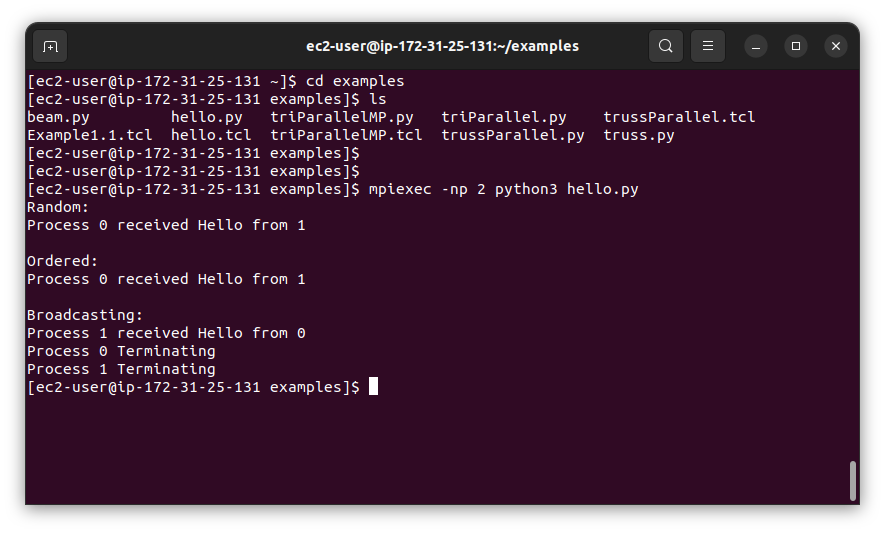
2.3 Run an OpenSees Script
Next, run a finite element analysis on your OpenSees AMI instance.
To run a multi-processor OpenSeesPy analysis, e.g., the triParallel.py script using four processors:
NOTE: Use python3.11 instead of python3 with AMI version 3.4.0.8.3.
[ec2-user@ip-172-31-25-131 examples]$ mpiexec -np 4 python3 triParallel.pyTo run a multi-processor OpenSeesMP (Tcl) analysis, e.g., the triParallelMP.tcl script using four processors:
[ec2-user@ip-172-31-25-131 examples]$ mpiexec -np 4 OpenSees.exe triParallelMP.tclNote: In version 3.4.0.3 of the OpenSees AMI, the OpenSeesMP (Tcl) executable is named OpenSees.exe. In future OpenSees AMI versions, the OpenSeesMP executable will be accessible using either OpenSees or OpenSees.exe.
Congratulations! You can now run OpenSees analyses in the cloud.
2.4 Transfer Files Using Secure Copy
You can use Secure Copy (SCP) to transfer OpenSees analysis scripts developed on your local machine to your OpenSees AMI instance and transfer analysis output from your OpenSees AMI instance back to your local machine.
Secure Copy your analysis script to your OpenSees AMI instance using your key pair and the instance Public IPv4 address, e.g., 52.10.40.127, but yours will be different.
[localhost]$ scp -i ~/.ssh/awskey.pem myScript.py ec2-user@52.10.40.127:~/Return to your OpenSees AMI instance and run your analysis script.
NOTE: Use python3.11 instead of python3 with AMI version 3.4.0.8.3.
[ec2-user@ip-172-31-25-131] $ mpiexec -np 4 python3 myScript.pyThen Secure Copy the output file generated by your analysis script back to your local machine.
[localhost]$ scp -i ~/.ssh/awskey.pem ec2-user@52.10.40.127:~/results.out .SCP can transfer directories using the -rp option and can transfer multiple files using wild card matching, e.g., *.out or abc*.out.
Additional information on using SCP from local Linux and Windows machines.2.5 Useful Linux Commands
# list contents of current working directory
ls

# print the current working directory
pwd

# change the current working directory to dir
cd dir

# change the current working directory to the parent directory
cd ..

# change the current working directory to the home directory
cd ~

# copy src (source) file to dst (destination) file
cp src dst

# copy src (source) directory to dst (destination) directory
cp -r src dst

# move src (source) file to dst (destination) file
mv src dst

# move src (source) directory to dst (destination) directory
mv -r src dst

# remove file
rm file
2.6 Screen Command
Suppose you want to run a long OpenSees but don't want to remain connected to your OpenSees AMI instance for the entire analysis. Use the screen command, described here.
Support
Technical support is available for issues encountered while launching an OpenSees AMI instance. Book a session now!.
Support for OpenSees modeling issues please contact us.
Refund Policy
Refunds are not available.
Use the EC2 Dashboard to stop your OpenSees AMI instances so that you do not accrue hourly charges while the instances are idle. When you stop an EC2 instance, you will not lose data stored on the hard drive attached to your instance.
See the AWS user guide for instructions and what happens when you start and stop EC2 instances.
Elastic IP Addresses
Note that when you do restart a stopped EC2 instance, the Public IPv4 address will change. Use Amazon's Elastic IP address service to assign a static IP address to your OpenSees AMI instance. This service is free while the instance is running, but AWS charges a small amount (usually $0.005 per hour) to keep the IP address while the instance is stopped. See the EC2 On-Demand pricing page for more details.
Back to OpenSees AMI